Friends,
Years ago, if you wanted to grow vegetables, you had to wait until the danger of frost passed or started your seed in the house or greenhouse. You could not find those beautiful plants in the corporate garden centers. Let's step back in time and learn something new. This post is targeted to those of you who desire to start your own seed indoors prior to your last frost date. I personally do not recommend starting your own seed indoors if this is your first year of growing veggies. Save some of your heirloom seed this year ans study more about basic plant requirements over the next year. If you are confident about your commitment to learning, then give it a whirl, expect some failures and don't give up.
The first step in starting seed indoors is to determine which plants you desire to grow and which are best suited for indoor starting. Obtain high quality heirloom, heritage, open pollinated, organic seed. To avoid confusion, I will use the term heirloom seed. These are seed that have surpassed the test of time and can be saved for future growing.
The primary reason to start your seed indoors is to get a jump on the growing season. By having your plants mature early, your growing season is extended and your harvest should be plentiful. Before we proceed, get out a notebook and begin keeping good notes. Learn the maturity dates for each plant you desire to grow.
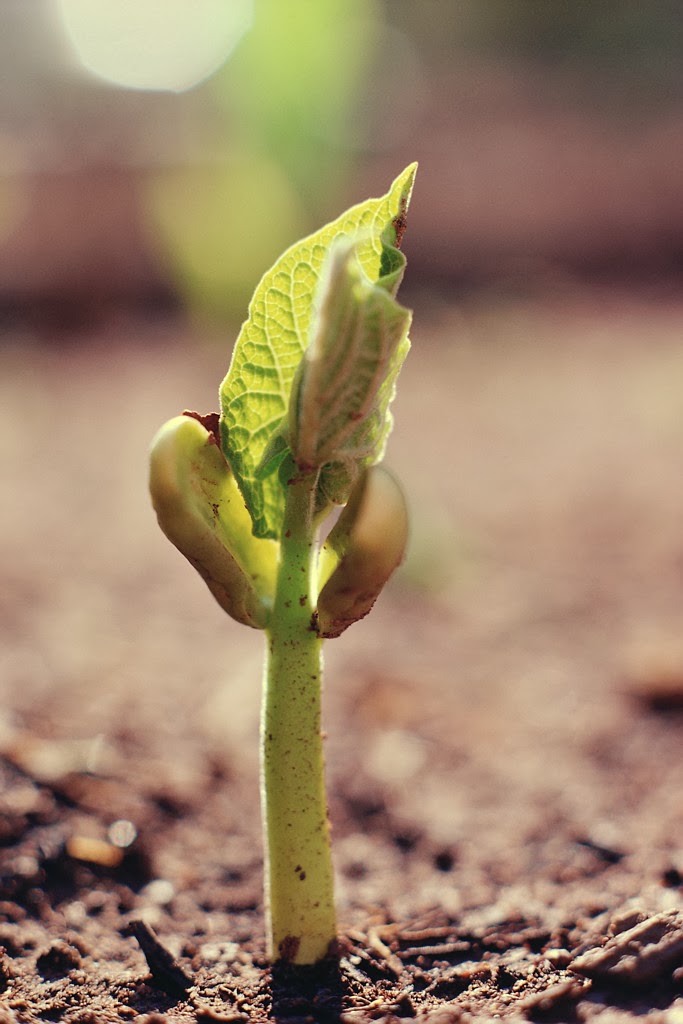
Perhaps the most important thing to know when starting seeds indoors is your local average frost date. Keep in mind that these are average dates. I found a pretty cool website that allows you to look up your dates by zip code. http://davesgarden.com/guides/freeze-frost-dates/index.php?q=37354&submit=Go This page show my local area. Type in your own to learn about your dates. You will also need to know germination dates and when to transplant into your garden location. Don't start too early because the plants could become tall and weak. Use a calendar to help with figuring out your specific dates. Photo by picsjpeg.com

I have lots of gardening books dating back to the 1960's that show how to build seed starting trays. Perhaps next year, I will be able to build some of these for future seed starting years. For this year, we are starting with plastic seed starting cups placed in a tray that holds water. You do not need to use these trays, but they are convenient and can be reused. Most garden centers also sell pre-formed peat pots or peat pellets which can be placed directly in the ground, but are one time use.

I have seen all kinds of containers used for seed starting. Use your imagination and creativity to find your own solution. You can make seed tubes from toilet tissue rolls or by cutting and rolling newspaper strips. You can also save some of those plastic food containers such as milk jugs, water bottles, or butter containers. Just make sure your homemade containers allow for drainage and won't become soggy. Plastic containers will need small drainage holes.

After getting your containers together, you will need a suitable seed starting mix. It is not recommended to use soil from your garden or property because it compacts too much. Compacted soil does not allow for adequate aeration or water retention.
This year, I am using a mix of peat moss, perlite, and vermiculite. Many folks call this a growing media. As you progress on your own journey, you will learn a variety of media you can add to your own mix. If you do not want to mix your own, you can obtain pre-mixed starting soil from most garden centers. I use a large rubber tote to mix mine.

Once you add the growing media to the containers, I recommend getting your soil good and moist before adding your seed. I add water to the bottom tray then put the seed containers in the water to allow water to be absorbed from the bottom. You could also use a plastic dish washing tub for this purpose. Always use warm water to allow for quicker absorption.
Once the soil is good and moist, you can add your seed. Check your seed package and plant your seed accordingly. Some folks will plant more than one seed per container and thin them out before transplanting. Once seed is placed in the soil. top the container off with a little more soil.

You have now started the process of growing your own food with an indoor beginning. Now you will need to label your containers. If growing all of the same seed in a flat or other container, use one label per container. On these labels, make sure you include the type of plant, variety and date started. You can buy commercial labels or make your own. Labels should be waterproof so that you can still read them when it come time to put them in the ground. I use re-claimed plastic Venetian blinds. I have seen people use strips cut from milk cartons and other liquid vessels. Make sure you use a permanent marker for your labels.
Congratulations, you have begun the process of life. Now you need to nurture them into a living, producing plant. Keep your soil good and moist during the germination process. Keep the soil warm during the starting process. Commercial seeding heaters are available at some garden centers, but are expensive. In the old days, folks would put their seed tray next to a wood burning stove or old radiators. I have seen a wide variety of heaters over the years. For smaller batches, I have seen folks use heating pads purchased at drugs stores. I have even seen folks use a waterbed heater for this purpose. For larger batches, I have seen folks using an electric blanket with a plastic sheet between the heater and seed trays. As always, use your own good judgement and common sense. once roots begin to grow on your seedlings, they need the warmth for best development.
Next, we need to look at lighting options. I have seen some pretty elaborate lighting and shelving units for seed starting. These set ups can get expensive. Lighting is one of those areas you will get a lot of conflicting information. Old timers always started seed in a southern exposure window if they didn't have a greenhouse. Today, we have florescent light bars in a variety of sizes. You can find florescent shop lights at most hardware stores and garden centers. If you use a light bar set up in a room that doesn't get adequate lighting, consider using chains to raise the light as your seedlings begin to mature. The idea height above the seedling should be 4-6 inches. Most experts will say to give them 12-16 hours of light per day. Because folks have their own way of doing things, feel free to experiment. Set some near a southern window and try some under the lights. Make sure you keep good notes so you can continue to learn the process for future years

Photo by: Lowes.com
After your seedlings develop, you will need to harden them off by allowing them to strengthen before transplanting them. While they are indoors, I use a tower oscillating fan. I start about 10 feet away and move it closer every couple of days. As the outside weather permits, I move them outside to harden off even more. Do not subject them to high winds. If you harden them outside, provide protection from these winds. While hardening them, back off on watering, but keep them moist.
Each type of plant will be ready for transplant at different times. Make sure you consider those late winter frosts when transplanting. If a danger of frost exists, plan on protecting plants with plastic buckets or hot house type set ups.
I highly recommend starting more than you plan to grow in your own garden. Some folks start twice as many and either give them away or selling them to supplement their income.
If you are looking for more detailed information, consider picking up a book or two on this topic.
I will provide updates when I can. Good luck and happy growing to ya.
You can make comments here. By the way, you can share it on social media by clicking on the right botton.
ReplyDeleteI save plastic gallon milk jugs, cut the bottom off and put over each seedling when I plant it out doors. It protects it from the sun and makes a mini green house until the plant gets strong.
ReplyDelete